You’ve bought your first camping stove, you’re excited for your trip, and then a quiet panic sets in: how do you actually use this thing? For something that seems like it should be simple, a camping stove can feel intimidating to a beginner — there are canisters to connect, valves to adjust, flames to light, and a nagging worry about doing something wrong with what is, after all, a small fire-making device. If you’ve ever felt unsure standing over an unlit stove at the campsite, you’re far from alone, and this guide is here to fix that completely.
Here’s the reassuring truth: using a camping stove is genuinely easy once someone shows you how, and after your first successful cook, it becomes second nature. The key is understanding the simple steps — setting up safely, connecting your fuel, lighting the stove properly, controlling the flame, and cleaning up — along with the safety practices that keep every cook trouble-free. Master these fundamentals, and you’ll confidently brew coffee at dawn and cook hot dinners under the stars on every trip.
This complete beginner’s guide walks you through everything you need to know to use a camping stove safely and successfully. We’ll cover the main stove types, step-by-step setup and lighting, cooking tips, essential safety rules, and troubleshooting for when things don’t go perfectly. Whether you’ve got a tiny backpacking burner or a two-burner car camping stove, by the end you’ll handle it like a seasoned camper. Let’s get you cooking with confidence. 🔥
Before you light anything, it helps to know which type of camping stove you have, because the basic operation differs slightly between them. Knowing your stove type ensures you follow the right steps for setup and lighting.
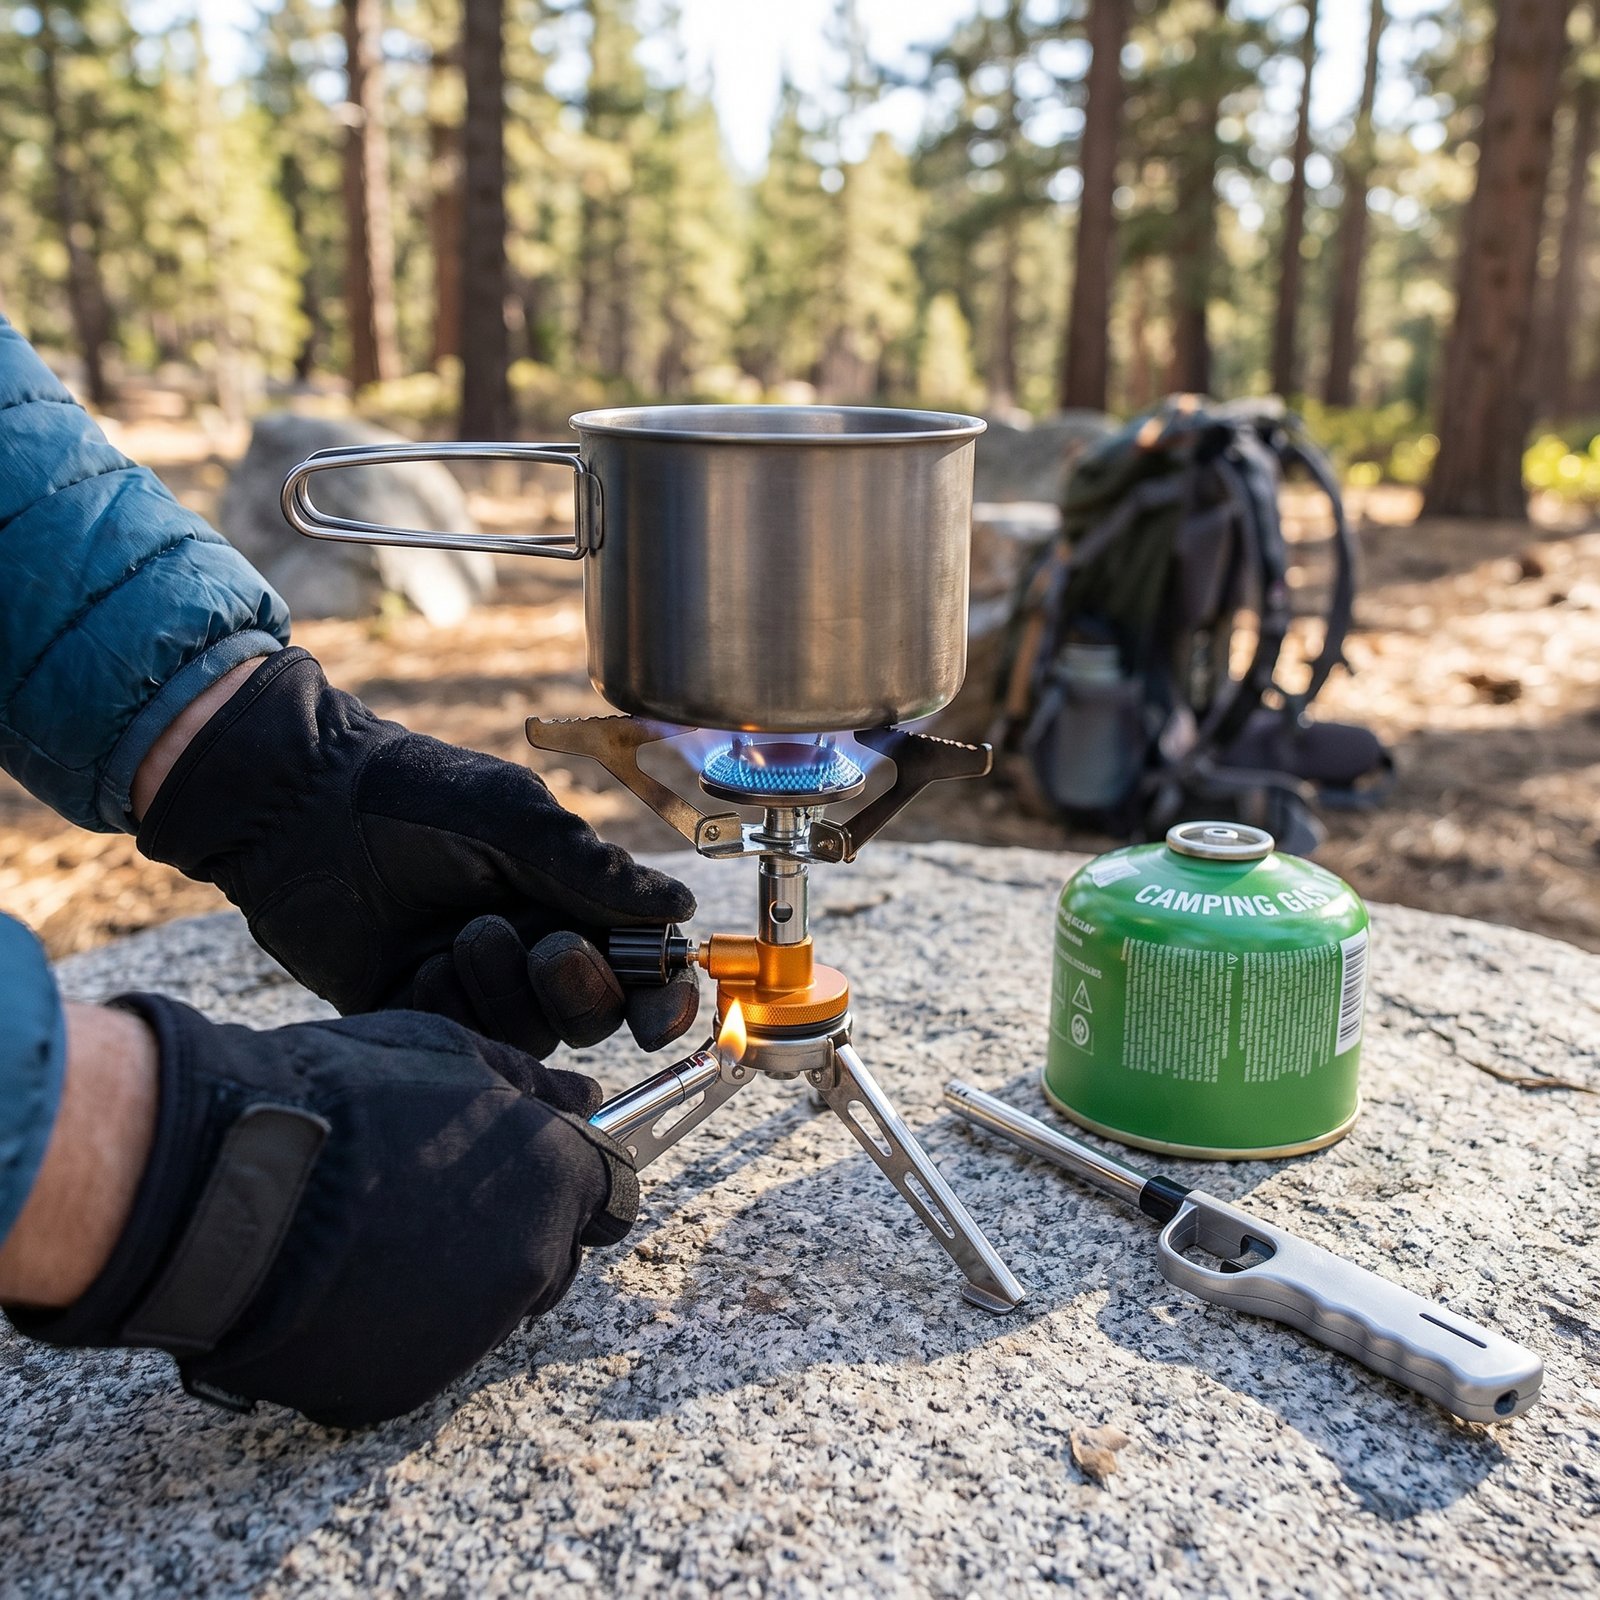
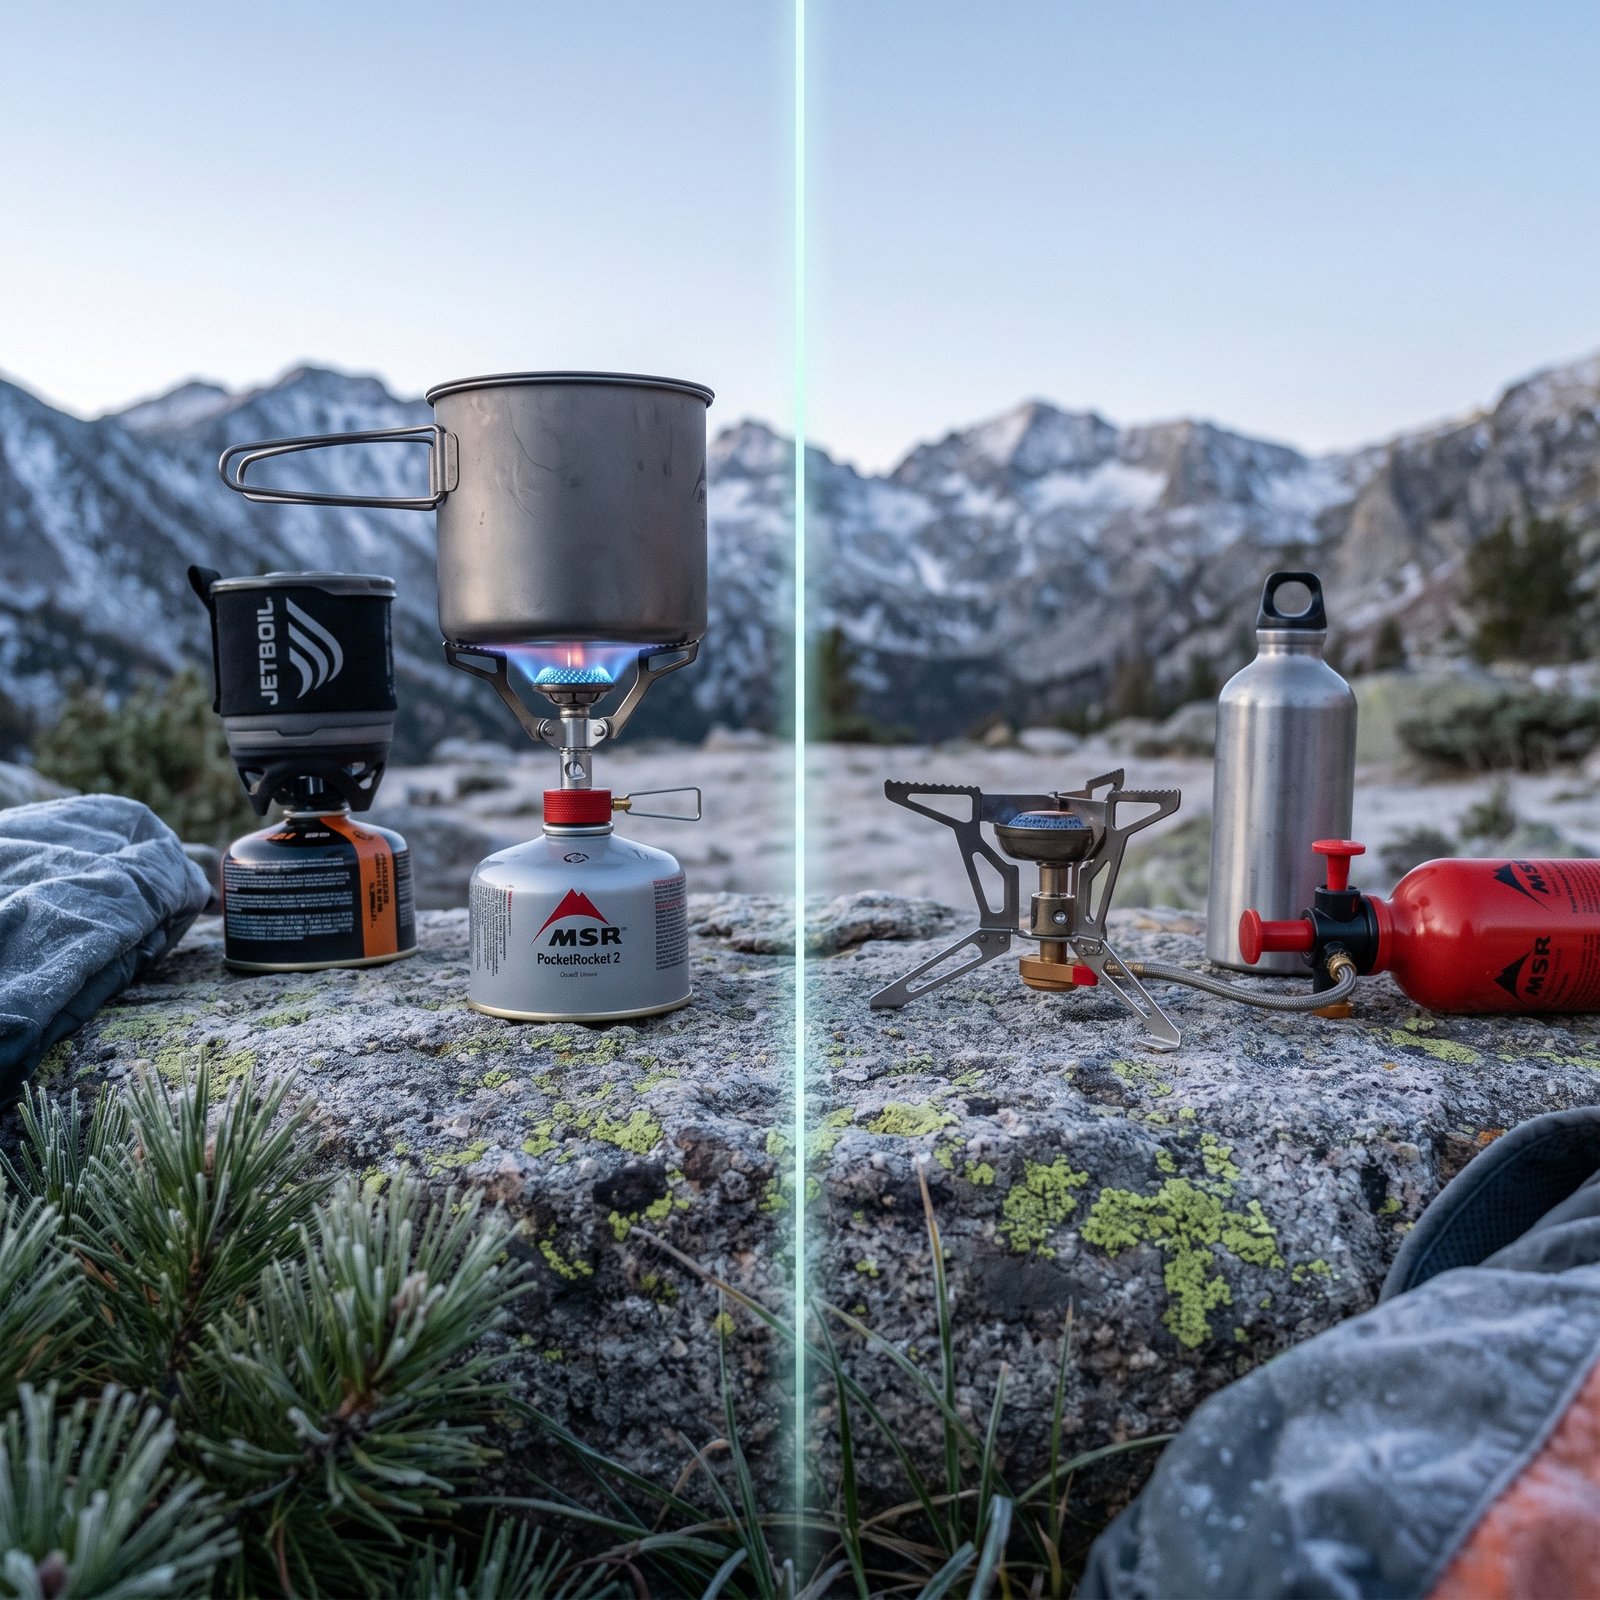
The most common type for beginners and backpackers is the canister stove, which runs on pressurized fuel canisters. Upright models screw the burner directly onto the canister, while remote models connect via a hose — either way, operation is wonderfully simple, with no priming or pumping required. If you have a canister stove, you’ll mainly connect the canister, open the valve, and light it, which makes these the easiest stoves to learn on.
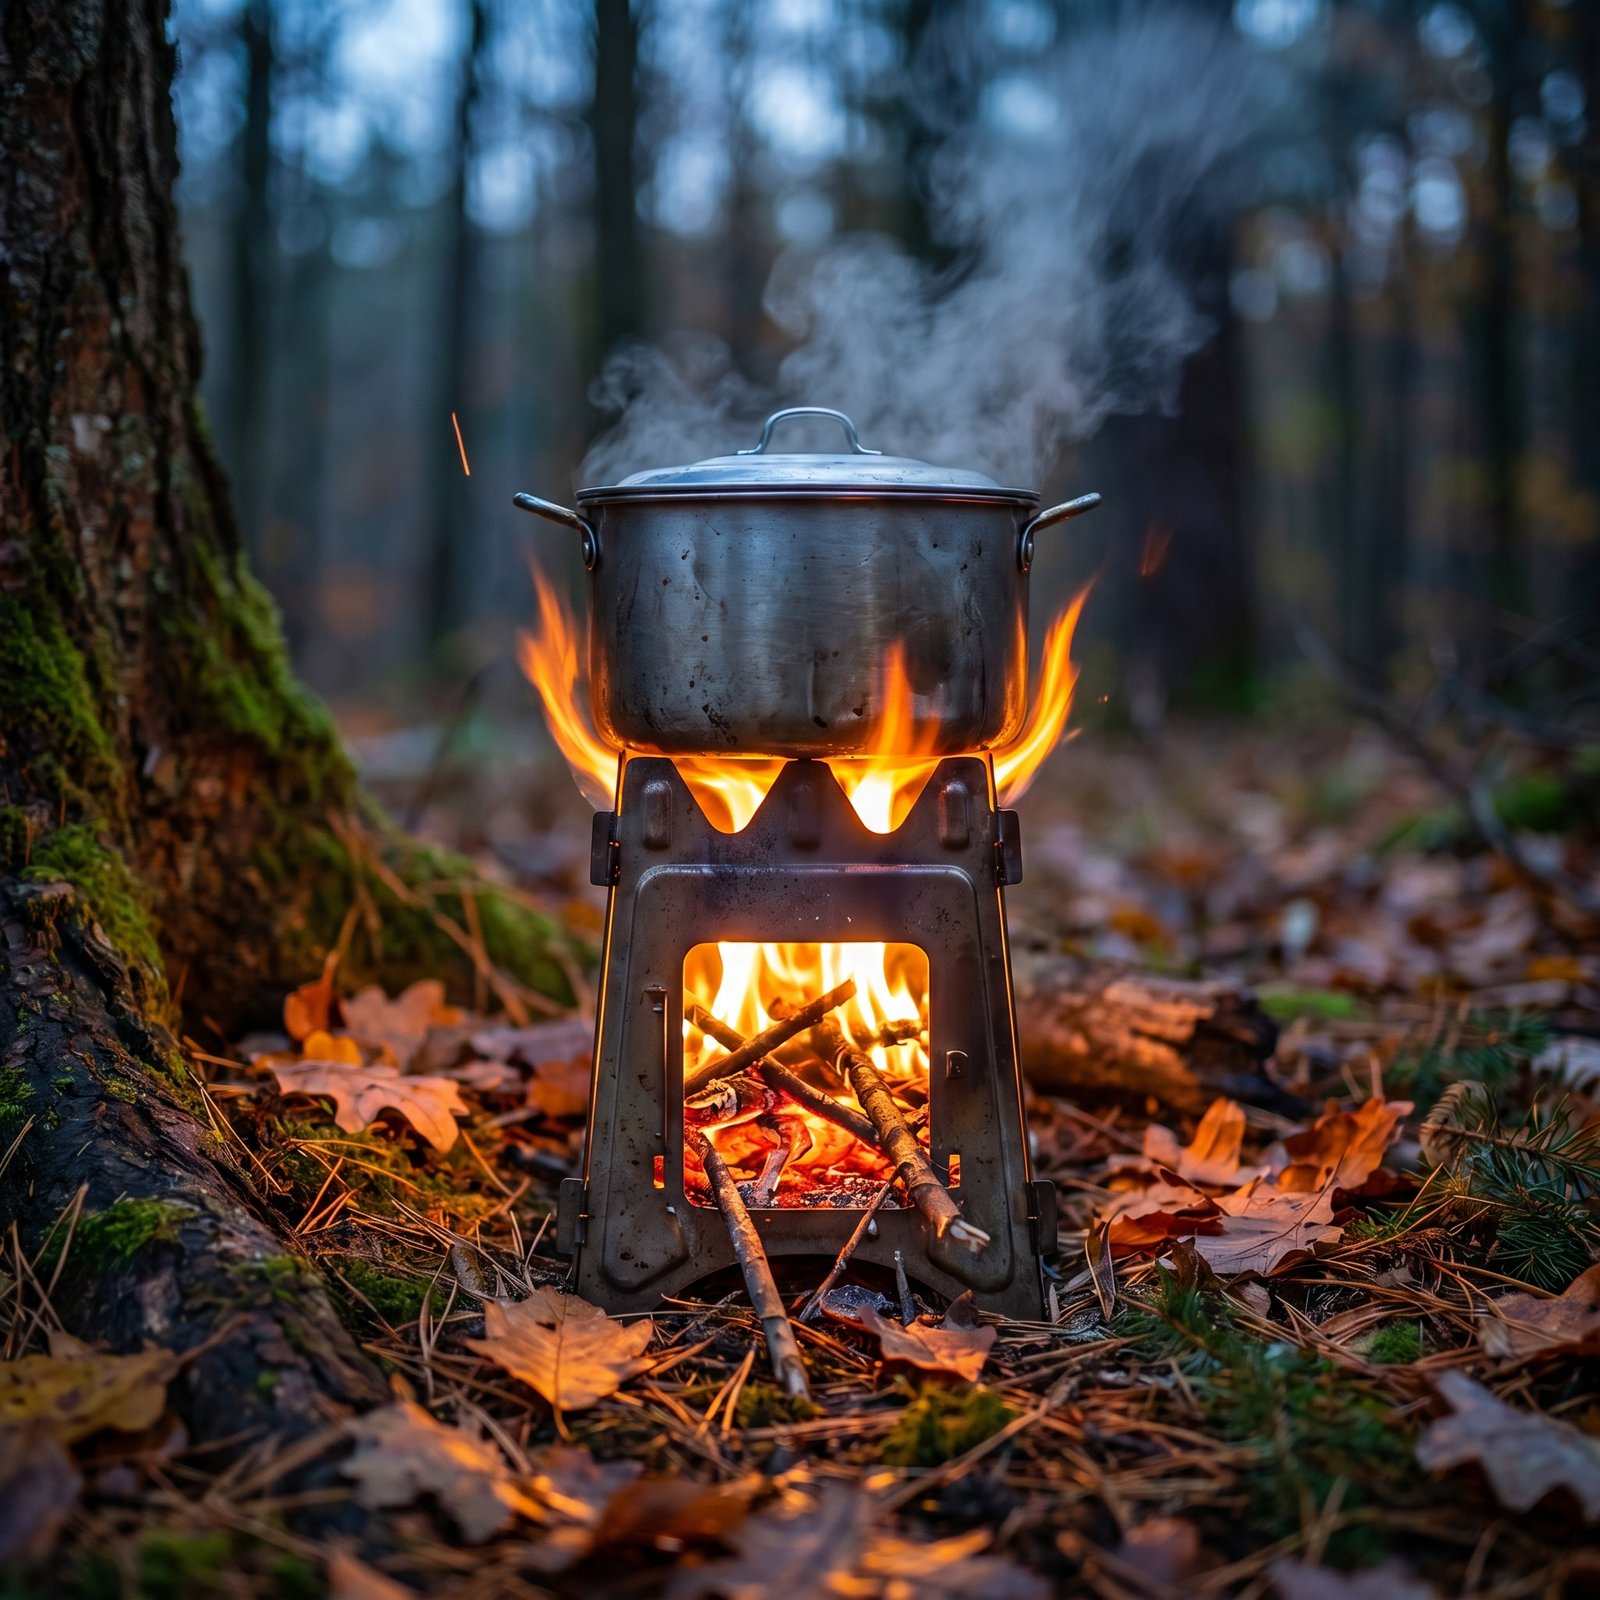
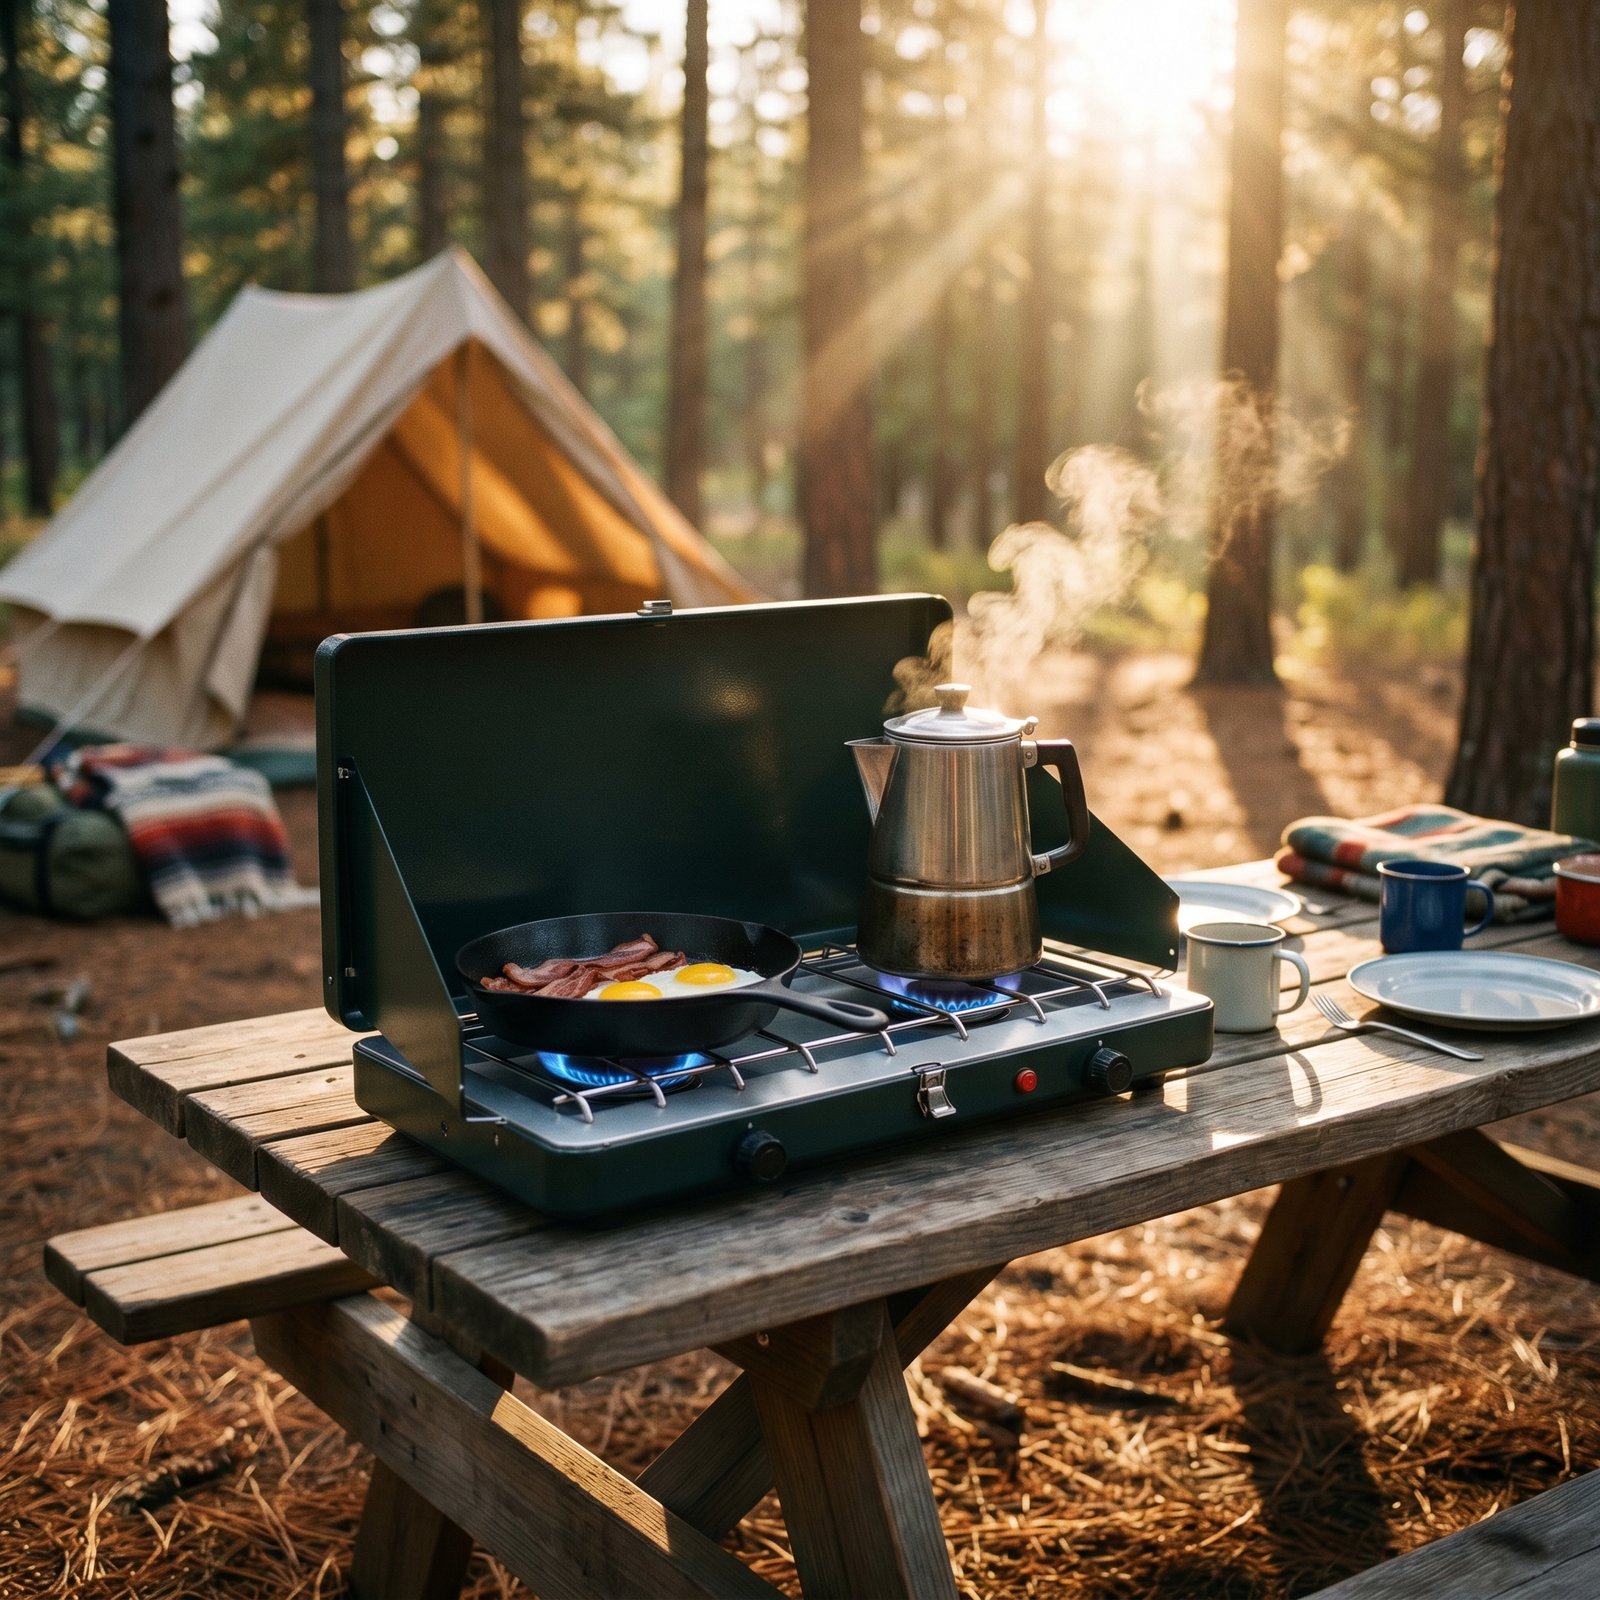
Other types include liquid fuel stoves, which burn white gas from a pumpable bottle and require an extra priming step, and two-burner propane stoves common for car camping, which connect to propane canisters and offer two cooking zones. There are also alcohol and wood-burning stoves with their own methods. Most beginners start with a canister or propane stove, so this guide focuses primarily on those while noting key differences for others. Identify your stove type, and let’s get set up.
Proper setup is the foundation of safe, successful cooking, so let’s walk through it step by step. Taking a moment to set up correctly prevents most problems before they start.
Step 1: Choose a safe location. Set up your stove on a flat, stable, non-flammable surface outdoors, well away from your tent, dry grass, low branches, and anything flammable. A level surface keeps your pot stable and prevents dangerous tipping, while clearance from flammables is a crucial safety basic. Never set up a stove inside a tent or enclosed space.
Step 2: Assemble the stove. If you have an upright canister stove, unfold the pot supports and prepare to attach it to the canister. For a remote or two-burner stove, set up the stove body on your surface and ready the fuel connection. Make sure all parts are properly extended and the stove sits securely.
Step 3: Connect the fuel. For a canister stove, screw the burner onto the fuel canister (or connect the hose) firmly but without over-tightening, ensuring a snug, leak-free connection. For a two-burner propane stove, attach the propane canister to the connection point. Always check that the connection is secure and listen or smell for any gas leaks before proceeding — a hissing sound or gas odor means you should disconnect and reconnect.
Step 4: Set up wind protection. If your stove has fold-out wind shields (common on two-burner stoves), extend them now, or position your stove in a naturally sheltered spot. Wind protection keeps your flame steady and conserves fuel, making a real difference in cooking performance outdoors.
With your stove safely set up, fueled, and shielded from wind, you’re ready to light it. Setting up properly takes only a minute and lays the groundwork for safe, smooth cooking.
Now for the moment of ignition. Lighting your stove correctly is simple and safe when you follow these steps in order. The key is opening the fuel and igniting promptly without letting gas build up.
Step 1: Have your ignition source ready. Before opening any fuel, have your lighter, match, or the stove’s built-in igniter ready to go. A windproof lighter or stormproof match works well if your stove lacks a built-in piezo igniter.
Step 2: Open the fuel valve slightly. Turn the stove’s control valve to release a small, steady flow of gas — you’ll usually hear a soft hiss. Open it just enough to get a moderate flow; you don’t want a large rush of gas building up before you light it.
Step 3: Ignite promptly. Immediately bring your flame to the burner or press the piezo igniter. The stove should light with a blue flame. Lighting promptly after opening the valve prevents gas from accumulating, which is both safer and easier. If it doesn’t catch in a second or two, turn off the gas, wait a moment for it to dissipate, and try again.
Step 4: Adjust to your desired flame. Once lit, use the control valve to adjust the flame up for boiling or down for simmering. A steady blue flame indicates proper, efficient combustion. Now your stove is burning and ready to cook.
For a liquid fuel stove, there’s an extra priming step before this: you pressurize the bottle with the pump, release a tiny amount of fuel to preheat (prime) the burner, let it burn down, then open the valve and light fully. If you have a liquid fuel stove, follow its specific priming instructions, but the core principle of opening fuel and igniting promptly remains the same.
With your stove lit, it’s time to cook — and a few simple techniques will help you cook well and efficiently outdoors. Cooking on a camp stove is much like cooking at home, with a few outdoor-specific tips.
Place your pot or pan securely on the pot supports, making sure it’s stable and centered over the flame, especially on a small backpacking stove where balance matters. Use a lid whenever possible to retain heat, speed up boiling, and conserve fuel — a simple habit that makes a real difference. Adjust the flame to suit your cooking: high for boiling water, low for simmering sauces or gently cooking eggs, using your stove’s flame control to find the right heat.
Stir and monitor your food as you would at home, keeping in mind that camp stoves can have hot spots, so stirring helps cook evenly. For backpacking, boiling water for dehydrated meals is the simplest approach, while car camping with a two-burner stove lets you cook more elaborate multi-dish meals. Manage your fuel by only heating what you need and shielding from wind. With these techniques, you’ll cook everything from quick boil-in-bag dinners to full campsite breakfasts with confidence and ease.
Properly shutting down and packing your stove is just as important as lighting it, so let’s cover the right way to finish up. Doing this correctly keeps you safe and protects your stove.
Step 1: Turn off the fuel valve. When you’re done cooking, turn the control valve fully to the off position to stop the fuel flow and extinguish the flame. Make sure the flame is completely out and no gas is still flowing.
Step 2: Let the stove cool completely. Allow the stove to cool down fully before handling or packing it, as the burner and pot supports get very hot during use. Rushing to pack a hot stove risks burns and can damage your gear, so give it time to cool.
Step 3: Disconnect the fuel. Once cool, carefully disconnect the canister from the burner (for canister stoves) or detach the propane canister (for two-burner stoves), ensuring the valve is fully closed first. For liquid fuel stoves, depressurize and disconnect the bottle per the instructions. Store fuel canisters safely and separately.
Step 4: Clean and pack. Wipe away any food residue or grease, then fold and pack the stove into its case or your pack. Storing it clean and dry prevents buildup and corrosion, keeping your stove in good shape for the next trip. With the stove off, cooled, disconnected, and cleaned, you’re all packed up and ready to move on.
Safety is paramount when using any stove, so let’s cover the essential rules that keep every cook trouble-free. These simple precautions take seconds and prevent the kinds of accidents that ruin trips.
The most critical rule is to always cook in a well-ventilated outdoor area and never inside a tent, enclosed shelter, or vehicle, because burning fuel produces carbon monoxide that can be deadly in confined spaces — this rule is non-negotiable. Set your stove on a stable, level, non-flammable surface away from anything that could catch fire, and keep it clear of dry grass, branches, and other flammables.
Always check fuel connections for leaks before lighting, light promptly after opening the gas to prevent buildup, and never leave a lit stove unattended. Keep a way to extinguish flames nearby, handle the stove carefully as parts get very hot, and follow all local fire regulations and bans, especially in dry seasons. Store fuel away from heat, and keep stoves and fuel out of children’s reach. Following these straightforward safety habits ensures that using your camping stove remains a safe, enjoyable part of every outdoor adventure.
Even with everything done right, you may occasionally run into a hiccup, but most stove problems have simple causes and solutions. Before assuming your stove is broken, work through these common issues.
If your stove won’t light, check that the fuel canister has fuel and is properly connected, ensure the valve is open enough to release gas, and confirm your igniter or lighter is working — a simple reconnection or fresh lighter often solves it. In cold weather, a weak or failing canister flame is usually due to the cold reducing canister pressure, so warming the canister against your body or using a stove suited to cold conditions helps considerably.
If the flame is weak or yellow rather than strong and blue, the burner may need cleaning, the fuel may be low, or wind may be affecting it, so try shielding from wind, checking fuel levels, and cleaning the burner. A clogged burner can often be cleared with gentle cleaning. For liquid fuel stoves, weak performance may mean the bottle needs more pumping or the burner needs priming or cleaning. Most issues come down to fuel, cold, wind, or a need for cleaning — all easily addressed once you know what to look for.
Beyond the basics, a few extra tips will help you cook more efficiently and get the best performance from your stove. These habits make camp cooking smoother and stretch your fuel further.
Always shield your stove from wind, since a breeze dramatically increases fuel consumption and slows cooking — a windscreen or sheltered spot makes a big difference. Use a lid and only heat the water or food you actually need to conserve fuel. In cold weather, keep canisters warm by storing them in your jacket or sleeping bag before use, which maintains pressure and flame strength. Carry a little extra fuel beyond your estimate as a safety margin, especially in cold conditions where consumption rises.
It also helps to practice using your stove at home before your trip, so you’re comfortable with setup, lighting, and flame control before you’re relying on it in the backcountry. Keep your stove clean for reliable performance, and plan simple meals that match your stove’s capabilities. These small habits ensure you cook efficiently, avoid running out of fuel, and get reliable, enjoyable performance from your camping stove on every adventure.
Using a camping stove, which may have felt intimidating at first, is genuinely simple once you understand the straightforward steps: set up safely on a stable surface, connect your fuel securely, light promptly after opening the gas, adjust the flame to cook, and shut down and pack up properly once you’re done. Master these fundamentals, and you’ll handle your stove with the easy confidence of an experienced camper.
The most important thing to carry with you is the safety mindset — always cook outdoors in a well-ventilated area, never inside a tent, keep the stove clear of flammables, check connections, and never leave it unattended. These simple rules keep every cook trouble-free and protect you and those around you. Combined with smart habits like shielding from wind and conserving fuel, they make outdoor cooking safe, efficient, and enjoyable.
So the next time you arrive at a campsite, you won’t feel that flicker of uncertainty over your stove. You’ll set it up, light it, and cook a hot meal with confidence, turning a once-intimidating piece of gear into a trusted companion that rewards every adventure with warm food and hot drinks. That’s the whole joy of mastering your camping stove — the freedom to eat well anywhere your travels take you. Now get out there and cook something delicious under the open sky. 🔥
Found this guide helpful? Bookmark it for your next trip, share it with a fellow camper, and explore our other guides on backpacking stoves, car camping stoves, and fuel canisters — your complete resource for mastering fire and fuel in the great outdoors.


No Comments